
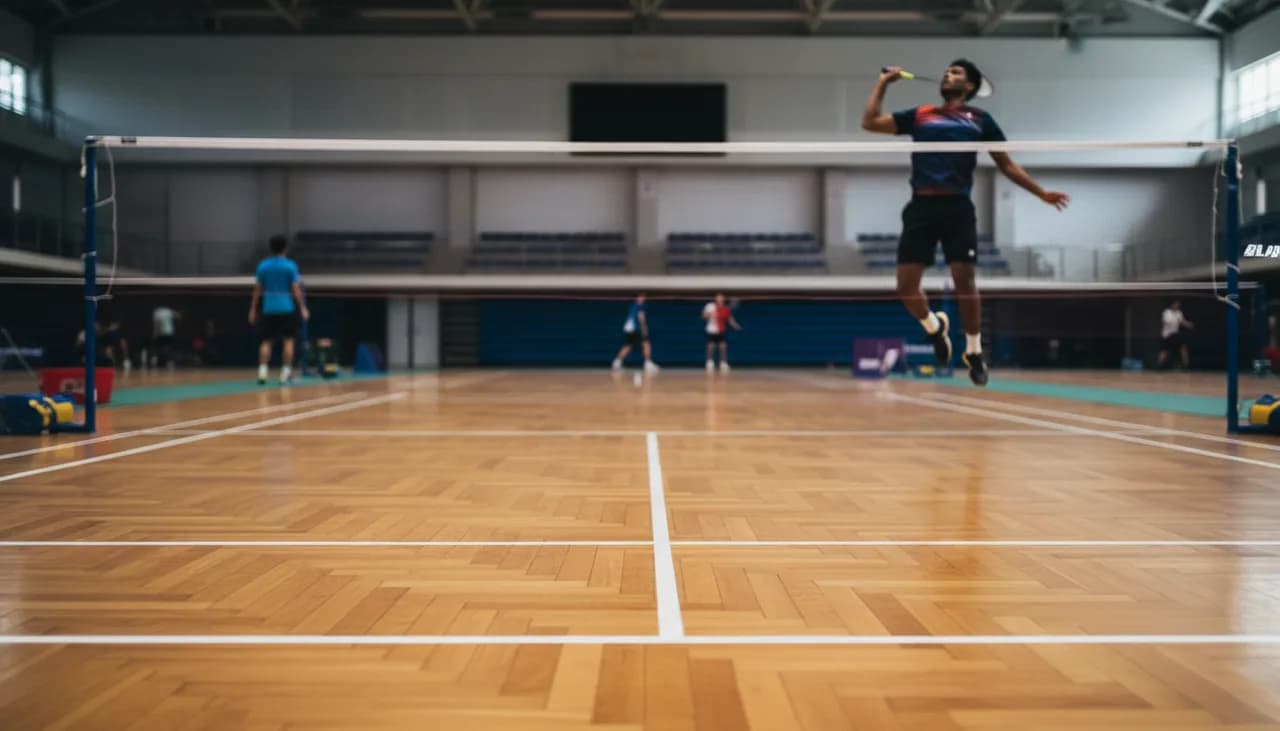
Badminton Smash Technique: A Complete Guide to Hitting Hard
Badminton smash technique: kinetic chain, point of contact, pronation, angle. The 5 flaws costing you 30% of your speed and how to correct them.
Badminton smash technique isn't just about hitting hard. Most intermediate players think a faster smash comes from strength training. That's wrong. What separates a 280 km/h smash from a 180 km/h smash is the sequence of body segments and the final forearm pronation. The official BWF record for the fastest smash in a match exceeds 426 km/h (Tan Boon Heong, 2013) — not thanks to more strength, but to a perfect kinetic chain.
This guide breaks down the technique segment by segment, including the flaws that cap your speed and how to diagnose them from your own video.
Key Takeaways
- Speed comes from the kinetic chain, not the arm: legs → pelvis → torso → shoulder → elbow → forearm → wrist. Breaking this order = -30 to -40% speed.
- The contact point must be high and in front: shuttle hit at eye level = soft, long smash. Aim for contact 30-40 cm above the top of your head.
- Pronation is the real final accelerator: not arm extension. Without forearm rotation at impact, you push the shuttle instead of whipping it.
- Jump smash ≠ premium smash: to be used only when the angle gained is worth the cost of the landing.
- A 30-second profile video reveals 80% of your flaws (closed shoulders, late contact, no pronation).
What Really Makes a Smash Fast
The speed of the racket head doesn't come from the arm. It comes from a kinetic chain that starts from the ground and ends at the wrist, with each segment transferring energy to the next. The order is rigid: legs → pelvis → torso → shoulder → elbow → forearm → wrist. If a link is missing or comes too early, energy no longer accumulates; it dissipates.
This explains why a 1m70 player can smash faster than a muscular 1m90 player. The tall player who hits "with the arm" recruits only one segment. The shorter player who chains their whole body multiplies speed at each joint, like a whip. In the end, the forearm and racket move at a speed impossible to produce by isolating the shoulder.
Three practical consequences:
- Arm strength matters little. Working your biceps doesn't increase shuttle speed. Shoulder mobility and internal coordination are much more valuable.
- Timing is everything. If you cock your arm before your legs have pushed, you break the chain. The hit must follow, not precede, torso rotation.
- The loaded back foot is your accelerator. Without a pushing back foot, no pelvic rotation. Without pelvic rotation, your shoulder hits alone.
A player who plateaus at a certain speed level almost always has a short-circuited link. Identifying which one is 80% of the work.
The Cocking Phase: The High Recocking Position
The cocking phase is the starting position of the hit. A good cocking position prepares all segments to link together. A bad position dooms you before you even touch the shuttle.
Markers of a correct cocking phase, seen from the side:
- Elbow high, at ear level or above. Not in front of the face, not behind the back.
- Racket behind the head, racket head pointed down or back (the so-called "back-scratch" position, then pre-cocked).
- Non-hitting shoulder forward, aligned towards the shuttle. This is what will initiate the rotation.
- Back foot loaded, knees bent, ready to push.
Typical errors you'll see in your video:
- Low cocking: elbow at torso level. You'll hit "under" the shuttle and lose angle.
- Late racket preparation: the racket isn't ready when the shuttle arrives. You compensate with a desperate arm swing → soft, long smash.
- Shoulders closed towards the net: you haven't rotated. You'll hit flat with just your arm. Loss of 30 to 40% speed.
- Flat back foot: no push. You jump vertically without transfer, or you stay glued to the ground.
The cocking position is practiced with slow multi-shuttles, without hitting, just to automate the preparation → cocking sequence. The high backhand clear course specifically targets this high recocking mechanism between two consecutive hits.
The Contact Point: In Front and Above
The contact point determines two things: the angle you can give the shuttle and the amount of energy you can transfer to it. Hitting too late means losing both.
The ideal contact point for a smash is:
- Above the head, arm extended, racket at its highest point.
- Slightly in front of the body, not above the face or behind the back.
- Aligned with the front foot, in the direction of the hit.
Why "in front"? Because the racket descends after the contact point. If you hit above your head (vertical contact point), the shuttle goes horizontal — that's a clear, not a smash. If you hit behind, you lob. To give a downward angle, contact must occur during the descending phase of the stroke, i.e., in front.
The most frequent error is late contact: the player lets the shuttle drop too low before hitting. Consequences:
- The shuttle is no longer in a high position → impossible to give a downward angle.
- The arm is already descending → less pronation possible.
- The racket hits "under" the shuttle → high trajectory, lost speed.
In your video, check the shuttle's position relative to your head at impact. If you see your shuttle at eye level or lower when you hit, it's too late. Aim for contact 30-40 cm above the top of your head, slightly in front.
The Downward Angle: Where to Aim and Why
A smash without a downward angle is a fast drive. Without an angle, your opponent defends with a block, without moving, and clears it back to you. With a good angle, they defend with a forced lift, and you follow up.
Three families of angles, three uses:
- Flat smash (10-15°): very fast, won on pure speed. Effective if the opponent is late or if you aim for the body. Risk: easy to counter-drop if your opponent is well-positioned.
- Inclined smash (25-35°): the sweet spot. Fast enough not to be blocked, downward enough to prevent a clean defense. This is the angle for most winning smashes in singles.
- Very downward smash (>35°): useful for finishing near the net or for surprise, but loses speed. To be used as a variation, not as standard.
The angle is not chosen randomly. It depends on:
- Your position on the court. The closer you are to the net, the more you can angle down. Jump smash at the back T → moderate angle. Smash near the front line → vertical angle.
- The opponent's position. Opponent deep in defense → aim for the feet (ground angle). Opponent close → aim for the body or side angles.
- Your playing style. A pure attacker hits off-center down the line to finish the rally — the off-center down-the-line attacks course works exactly on this target. A counter-attacker prefers a centered smash to the body to block the defense — see the centered body attacks course.
The angle primarily comes from the contact point (high + in front) and the orientation of the racket face at impact. A flat smash with an open racket face = shuttle goes up. A high smash with a closed racket face = shuttle dives.
Shoulder Rotation and Pronation: The Final Snap
This is where most of the real speed is hidden. The rotation of the cocked shoulder then the pronation of the forearm just before impact is the "snap" that transforms an arm stroke into a whip stroke.
The sequence, in order:
- The torso rotates (triggered by the push of the back foot and pelvic rotation).
- The hitting shoulder projects forward, elbow still high.
- The forearm straightens (elbow extension).
- The forearm pronates (rotation of the forearm bone, palm goes from "up to the sky" to "down to the ground").
- The wrist finishes the movement, slightly flexed.
It's pronation that whips the racket. A simple test: hold your racket in front of you, palm up. Without moving your shoulder or elbow, rotate your forearm to put your palm down. The racket head has just moved very quickly, with no apparent muscular effort. This movement, added to elbow extension and shoulder rotation, multiplies speed.
Errors that kill pronation:
- Wrist tension: if you grip your racket tightly from the start of the stroke, pronation becomes impossible. Hold the racket relaxed until the last moment, grip only at impact.
- "Pushing" stroke instead of "whipping": if you follow through with the shuttle after impact as if you were throwing a tennis ball, you haven't pronated. The snap is instantaneous; the forearm rotates for less than 50 ms around contact.
- Low elbow at the end of the stroke: if your elbow finishes low and forward, it means you hit with the shoulder alone. Pronation collapses.
The high backhand clear course works on wrist and forearm maneuverability over two consecutive hits — this is the basis of proper pronation.
Jump Smash vs. Grounded Smash: When to Use Which
The jump smash is not a "premium" version of the smash. It's a variant with a specific use. If you jump systematically, you'll lose easy points on your defensive returns.
The grounded smash (both feet on the ground at the moment of impact, back foot loaded):
- Allows for immediate continuity: you can follow up with the next rotation without delay.
- Higher precision: your body is stable, your head is still, your perception of the shuttle is intact.
- Ideal at the back of the court when you can't gain additional angle by jumping.
The jump smash:
- Allows you to gain height, and thus a downward angle. Essential if the opponent sends you a high, deep clear and you want to hit the ground near the T.
- Allows you to hit while moving forward (jump-smash) to reduce distance and gain time on the opponent.
- Cost: you lose balance. Your landing must be controlled, otherwise you're stuck after the hit.
The simple rule: jump when the angle gained is worth the cost of the landing. On a short clear that lands mid-court, the jump gives you an extra 10° of angle — it's worth it. On a deep clear at the back of the court, jumping makes you move back and you hit flat → you lose more than you gain.
Classic mistake: jumping without preparation. You end up under the shuttle, you push vertically with two feet, you hit poorly, and you land precariously. The jump must be planned two hits in advance: you identify the high clear, you move back with two Chinese steps, you load and you jump. No "reactive" jump on a smash. The attacking pair hit: smash and follow-up course specifically works on this smash + footwork recovery sequence without losing time.
How to Know Where Your Smash is Stuck (and Fix It)
You can read ten technical articles, but you won't fix anything until you've seen your own smash from the side. Self-video is the fastest progression tool in badminton because it reveals flaws you don't feel while playing.
The minimum protocol for self-diagnosis:
- Film yourself from the side, on the side of your hitting arm, camera at mid-court height, 5-6 meters away. No overhead shots, no filming from behind.
- Multi-shuttle smashes, 8-10 reps. No match, no random shots. You want smashes under identical conditions for comparison.
- Review in slow motion at 0.25x. On a smartphone, any video playback app can do this.
The three flaws that cover 80% of cases:
- Closed shoulders: in the profile view, you see your back. You haven't rotated. Work on preparatory rotation in stationary multi-shuttle drills.
- Late contact: the shuttle is at eye level or lower at impact. Take a half-step forward towards the shuttle during preparation.
- No pronation: your forearm finishes in the same orientation as at the contact point, without rotation. Work on pronation in isolation, palm up → palm down, then add the racket.
You can do this by eye. You can also let a video analysis detail each rep hit by hit, with a score on mechanics and a comment on what went wrong.
Frequently Asked Questions
What is the average speed of a badminton smash?
For intermediate players, a well-executed smash is around 200-260 km/h. For male pros, the average in a match is 320-380 km/h. The official competition record is 426 km/h (Tan Boon Heong, 2013). In training, unofficial records exceed 490 km/h. Speed depends more on the kinetic chain and pronation than on brute force.
How long does it take to master smash technique?
For a club player training 2 to 3 times a week, count 6 to 12 months to establish a correct kinetic chain (high cocking, pronation, contact point). Speed continues to increase for 2 to 4 years with coordination work and specific strengthening. Filming your smashes every 4 to 6 weeks greatly accelerates progress.
Why does my smash always land in the net?
Three possible causes in order of probability: (1) too late a contact point — you hit the shuttle too low, the trajectory descends too quickly; (2) racket angle too closed at impact, the racket face points down instead of being perpendicular to the movement; (3) you follow the shuttle downwards with your stroke instead of whipping it. Film yourself from the side to identify which one.
Should I jump for every smash?
No. The jump smash is only useful when the angle gained in height outweighs the cost of the landing (loss of balance, difficult defensive return). On a deep clear at the back of the court, the grounded smash is more effective because you maintain your ability to follow up. Jump only when the opponent's clear is short or mid-court and you can land well.
How to practice pronation at home without a court?
Three exercises: (1) without a racket, palm up, rotate your forearm to put your palm down, without moving your shoulder or elbow, 3x20 repetitions; (2) with a light racket or broomstick, same movement, adding a wrist flick at the end of the movement; (3) throw a shuttle vertically above you, trying to make the racket snap through pronation at the moment of contact, 3x10 repetitions. Pronation should be practiced in isolation well before integrating it into the full smash.
If you want to go fast, upload a 30-second video of your smashes to BadmintonPeak — you'll get structured feedback on posture, cocking, contact, and finish in minutes.