
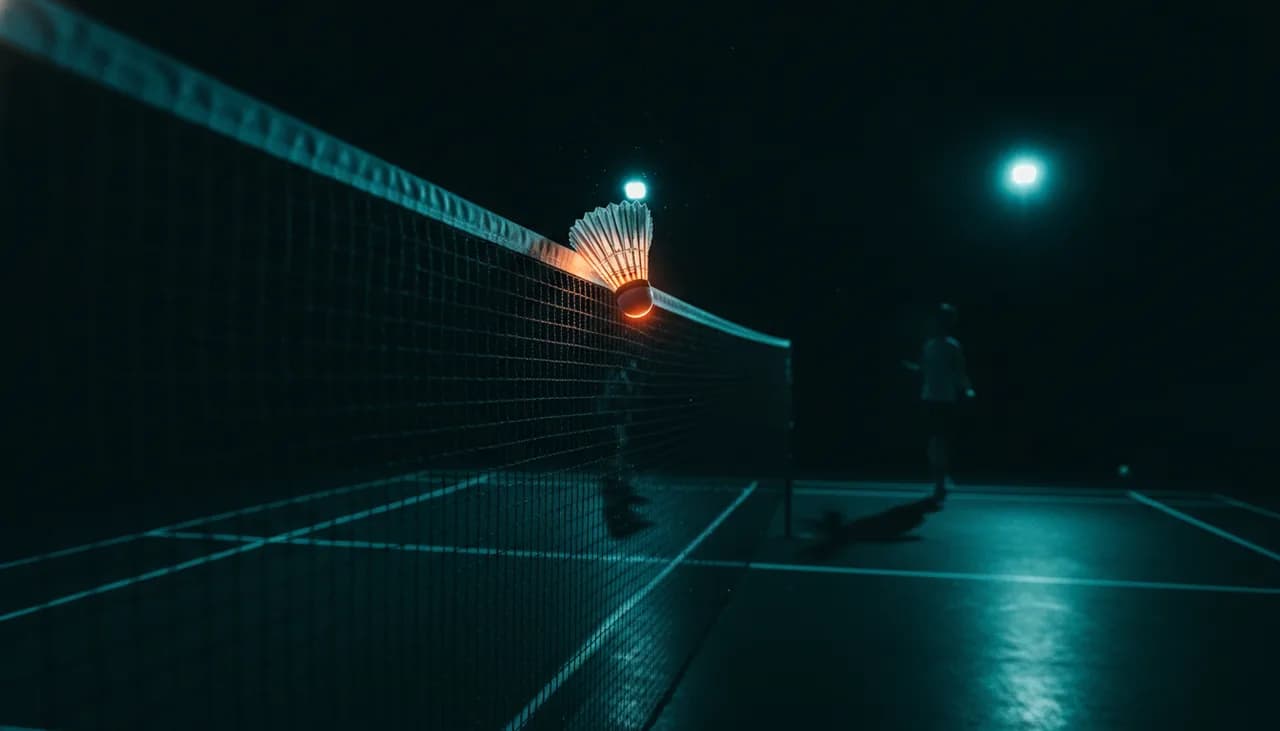
Net Play in Badminton: Taking the Initiative at the Front
Net play in badminton decides points as soon as you level up. Getting there early, taking the shuttle high, maintaining the initiative: this is the strategy.
Badminton net play is where the majority of points are decided once you move past the beginner level. Not because you hit hard, but because the player who takes the shuttlecock early and high at the net keeps the initiative: they choose between killing the point, dropping a shot that dies on the tape, or forcing the opponent to lift. The player who arrives late, on the other hand, is on the defensive—they can only lift the shuttlecock and give up the attack. This article is not a technical tutorial on the drop shot (for that, check out the dedicated guide): it's about net strategy, how to gain the upper hand there, and build your points around it.
The Essentials
- Net play is won at the front: whoever takes the shuttlecock earliest and highest keeps the initiative and dictates the pace.
- Taking the shuttlecock above the tape opens up all options—kill, spin, net shot, drive—while the opponent is reduced to lifting.
- The ready position is everything: relaxed hand, high racket in front, weight on the balls of your feet. A tense hand is a slow hand.
- The net is a duel of patience: the first to lift or let the shuttlecock rise above the tape loses the rally.
- The net lob is not an admission of weakness—it's an escape route when you're caught out, provided you send it deep.
Why Net Play Decides Points
Badminton rewards contact height. The net peaks at 1.524 m in the center, and that white tape is a boundary: above it, you can hit downwards or flat; below it, you can only return the shuttlecock upwards. All net play hinges on this asymmetry. The player who takes the shuttlecock above the tape has the point in their hands; the one who returns it from below gives up the attack and awaits the next shot.
That's why points aren't won solely from the backcourt with smashes. A powerful smash can be defended; a shuttlecock that dies a few centimeters behind the net cannot—the opponent must scramble to lift it, and they will inevitably lift it high. You then get a shuttlecock to attack. The net doesn't win the point in a single stroke: it creates the situation where the point becomes winnable.
Watch the best players on the circuit. An Se Young doesn't dominate because she hits the hardest, but because she consistently gets to the net before her opponent and takes the shuttlecock early, forcing them to lift. Kunlavut Vitidsarn builds a large part of his points by suffocating the opponent at the net before punishing them in the backcourt. The principle is the same at all levels: the net creates the opening, the rest of the court concludes it.
At club level, this is often the missing link. We work on smashing and clearing, but neglect the net—and give the opponent a half-court advantage every time we return a shuttlecock too high. For exact regulatory benchmarks, the badminton net height sheet details the official dimensions.
Taking the Shuttlecock Early and High: The Key to Net Initiative
All net strategy boils down to one sentence: get there before the shuttlecock drops. Every centimeter you let the shuttlecock lose in height is an option that disappears. At net height, you can kill, drop, or lob. Twenty centimeters lower, all you have left is a defensive lift.
Arriving early starts far from the net. The split-step as your opponent hits puts you in tension and allows you to start in the right direction without delay. Then, it's about movement: an explosive lunge forward, hitting leg in front, torso remaining upright so the racket arrives high and stable. If you arrive off-balance, your racket dips downwards, and you lose the option of a downward hit. Badminton footwork is the true engine of net play: it's not the hand that wins at the net, it's the footwork.
The ideal contact point is as high as possible and as close as possible to the tape, arm extended in front of you. The earlier you take the shuttlecock, the less time your opponent has to recover, and the more you reduce the angle they can cover. It's a temporal pressure: they don't have time to read your shot.
Two very common mistakes. The first: waiting for the shuttlecock instead of going to meet it. A shuttlecock that drops is a lost shuttlecock. The second: arriving at the net with a low racket, forced to “scoop” the shuttlecock upwards—you then telegraph the lift and give up the attack. Move up to meet the shuttlecock, racket already high. The high hand / low hand maneuverability course specifically works on this transition in returns.
The Net Ready Position: Relaxed Hand, High Racket
Once you've played your shot at the net and remain at the front, the game has only just begun. The ready position determines who wins the next rally. Three key points.
First, the racket high, head above the wrist, racket face in front of you at net height. From there, you can go upwards (kill, drive) or accompany downwards (net shot) without winding up. At the net, there's no time to wind up: the stroke starts from the racket face, not the shoulder. A racket that lags low means a half-beat delay, and a half-beat at the net is the point.
Next, a relaxed hand. This is counter-intuitive: the faster the rally, the more flexible your hand must be. A tense grip locks the wrist and prevents you from switching forehand/backhand at the necessary speed. You hold the racket firm enough not to drop it, yet flexible enough to pivot it with your fingertips. The grip only tightens on contact, for kill shots. For grip details, the racket grip explains the universal grip and finger play.
Finally, your body forward. Weight on the balls of your feet, knees bent, ready to lunge again. You're not waiting passively: you're in tension, leaning towards the net, reading the opponent's racket. Anticipation at the net isn't about the shuttlecock but about the opponent's preparation—the angle of their racket face tells you if they're going to drop, kill, or lift even before they touch the shuttlecock.
This low, dynamic, high-racket position is exactly what you adopt in defense: the block-lob-drive defense shares the same logic of a flexible hand and a ready racket in front.
Net Play Weapons: Kill, Spin, Counter-Drop, Lob
When you take the shuttlecock early and high, you have a choice of weapons. Each responds to a situation, and the principle remains the same for all: maintain an identical starting motion, so the opponent doesn't read your intention before contact.
The Kill (Rush). Is the shuttlecock too high, above the tape? You kill it. A sharp downward stroke, across the opponent's body or into open space. No big swing: a flick of the wrist and fingers over a few centimeters is enough. The kill is unforgiving of high shuttlecocks—it's the immediate punishment for an opponent who has returned too high.
The Spin (Cut Drop, Tumbling). You brush the shuttlecock tangentially instead of hitting it flat. It crosses the tape spinning on itself and tumbles unpredictably on the other side. The opponent cannot return it cleanly until it stabilizes: so they wait, so they return it low, so they lift. The spin is the queen weapon of net duels because it forces an error or a lift without taking risks. It's also a formidable feint: same preparation as a lob, opposite result.
The Counter-Drop (Net Return). Your opponent has sent you a drop shot, you return it short, in the same tempo, so it dies on the tape. It's a touch shot, high hand, without whipping. Be careful not to confuse it with a drop shot played from the backcourt: for the complete mechanics of the drop shot and return, see the drop shot guide.
The Lob. Your escape route when you're caught too low: you send the shuttlecock far into the opponent's backcourt to give yourself time to recover. I'll come back to this below.
The Net Duel: Forcing an Error or a Lift
Two players at the net, shuttlecock passing back and forth just over the tape: this is the net duel, and it's a game of patience as much as touch. The golden rule: the first to lift loses the rally. To lift is to give up the attack; the other player gets a high shuttlecock and punishes you. So as long as you can play short, you play short, and you wait for the opponent to crack.
Cracking means two things. Either they make a direct error—shuttlecock into the net or too long. Or they lift, because you've put them in difficulty with a shuttlecock that's too short, too spun, or that they took too low. Your objective is therefore not to win the point with a stroke of genius, but to make each return just difficult enough that they eventually lift.
Three levers to win the duel. The first: contact height, again. Every shuttlecock you return above the tape gives you the advantage; never retreat, advance half a step to take the shuttlecock earlier than them. The second: variation. Alternate spin, dead drops, and quick pushes to the hips to prevent them from finding a rhythm. The third: discipline. Don't attempt a kill on a shuttlecock that is at net level or below—that's the best way to put it into the net or make it attackable. A low shuttlecock is played short, period.
The most frequent mental mistake is impatience: wanting to kill a rally that isn't ripe. The net duel is won by staying disciplined one return longer than the opponent. It's a test of composure as much as touch—the same mental strength that helps you sustain a long point helps you win a net duel.
Building Your Points Around the Net
The net is not an isolated shot; it's the pivot around which you organize everything else. Good net play influences the entire court: as soon as your opponent knows you're dangerous at the net, they hesitate to drop, they lift shorter for fear of letting you attack, and they open up the backcourt for you.
It starts with the serve. A precise short serve that skims the tape opens the rally at the net under the best conditions: the opponent must return low, and you are already leaning forward, ready to kill their return. A serve that rises, conversely, gets killed immediately. The quality of your serve dictates all net play.
Next, alternate heights. The threat of the net only works if you can also send the shuttlecock deep. Drop shot then a short net return to draw the opponent forward, then a deep lob to send them back: you make them run across the entire diagonal of the court. This is where the clearing lob comes in. Lobbing from the net is not inherently defensive—it's a change of pace. You lob when you're caught too low to attack, or when you want to break the rhythm of an opponent established at the net. The condition: lob deep, all the way to the baseline, otherwise you offer a smash. A short lob is the worst return in badminton.
Finally, keep in mind that the net punishes especially in singles, where the court is long and narrow. In doubles, net play is even faster and relies more on drives and kills, with one player dedicated to the front. The article singles or doubles details these differences in zones and rhythm. And to see how the best players build their points around the net, the official BWF broadcasts are the best school: the player who takes the shuttlecock earliest is almost always the one who wins the rally.
Frequently Asked Questions
What's the difference between net play and a drop shot?
A drop shot is a stroke played from the back of the court to make the shuttlecock fall near the opponent's net. Net play encompasses all shots played at the front, near the tape: net returns, kills, spins, lobs. A drop shot often leads to net play—it creates the situation, net play concludes it. For drop shot technique, see the dedicated guide.
How do you win a net duel?
By staying disciplined one return longer than your opponent. Take each shuttlecock as high and as early as possible, vary between spin, dead drops, and quick pushes, and never lift as long as you can play short—the first to lift gives up the attack. Only attempt a kill on a shuttlecock that is clearly above the tape.
When should you lob from the net?
When you are caught too low to attack, or to break the rhythm of an opponent who is dominating at the net. The only rule: lob deep, all the way to the baseline. A short lob will be smashed immediately; it's the worst possible return.
Should your hand be tense or relaxed at the net?
Relaxed. A flexible grip allows you to switch forehand/backhand at the speed of fast rallies and to control your touch. You only tighten your grip at the moment of contact, on shuttlecocks you kill. A tense hand locks the wrist and puts you half a beat behind.
Is net play more important in singles or doubles?
Both, but differently. In singles, the net is used to make the opponent run and to force a lift on a long, narrow court. In doubles, it's even faster, dominated by kills and drives, with one player dedicated to the front. The principle of “taking the shuttlecock early and high” remains true in both formats.
Net play is judged by eye: the height of your take, the position of your racket in the ready stance, the quality of your touch. This is exactly what a video reveals. If you want to know where you lose the initiative at the net, analyze a video of your game on BadmintonPeak: the AI dissects your ready position, contact height, and returns, shot by shot.