
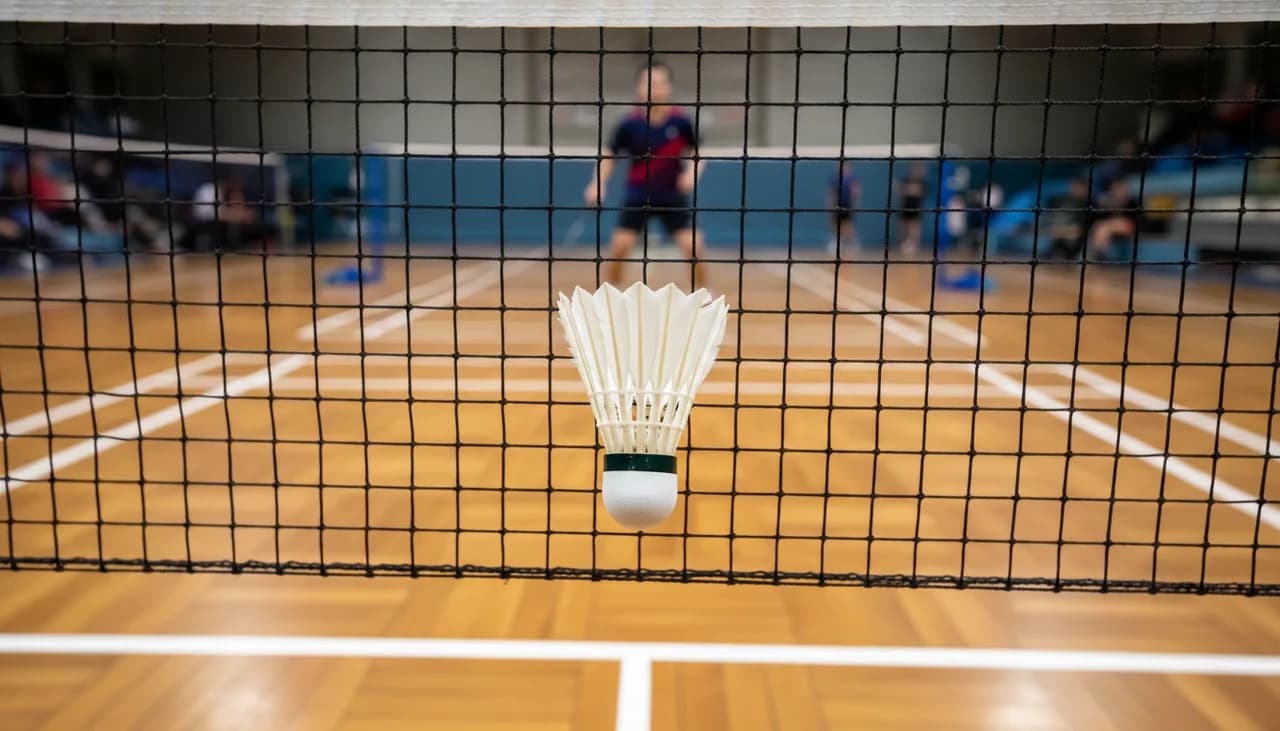
The badminton drop shot: technique, slice, and counter-drop
The badminton drop shot decides points against lifting players. Here are the 3 variations, the counter-drop, and drills to engrain the touch.
The badminton drop shot is a high shot played softly to make the shuttlecock fall just behind the opponent's net. It's one of the most under-practiced shots in clubs, yet it decides a huge proportion of points as soon as you level up: a well-placed drop shot forces the opponent to run forward and hit upwards, thus from a weak position. This article gives you the technical benchmarks, the three useful variations to know, the response to an opponent's drop (the net kill), and drills to film to anchor the touch.
What to remember
- The badminton drop shot is not a soft shot: it's a controlled shot that starts like a smash and changes on contact.
- Three variations are worth working on: the fast drop, the sliced drop, and the reverse slice.
- The badminton net kill is the logical response when the opponent sends you a drop shot to the net — it punishes a shuttlecock that is too high or too short.
- The number 1 flaw in the drop shot is the preparation: slowing down the gesture from the wind-up telegraphs your intention.
- Film a series of 10 drop shots in a row and you'll identify 80% of your flaws in less than five minutes.
Why the badminton drop shot changes a match
Badminton is won by varying the tempo. If you only have the smash and the clear in your arsenal, your opponent anticipates and punishes you. The badminton drop shot breaks this dynamic: it forces the opponent to come to the net when they were prepared to retreat. This is exactly the movement they hadn't anticipated.
On the PRO circuit, the most complete women's singles players — like Akane Yamaguchi or Chen Yu Fei — win a majority of points with drop shots, not smashes. Not because they hit less hard, but because their drop shot places the shuttlecock 20-30 cm from the net repeatedly. The opponent retrieves it on the way up, which closes the angle of attack and opens up the entire depth of the court for the follow-up.
On the men's singles side, watch a match of Kunlavut Vitidsarn: his signature is the tight sliced drop shot that passes the net at tape height then drops sharply. Same pattern: it forces his opponent to hit the shuttlecock below the tape, thus with a lift, and therefore without being able to attack.
The drop shot is the shot that transforms a neutral situation into a winning situation. It's also the shot that separates regional level from national level: at N3 and above, not having a good drop shot means leaving the opponent with half a court of free play.
Anatomy of a successful badminton drop shot
The trap is to believe that the drop shot is played slowly. False. The drop shot is prepared exactly like a smash. It's the contact that changes everything. Here are the four stages.
1. The grip. Forehand (universal grip) for most drop shots. Backhand (thumb grip) for drop shots played to the left for a right-hander. The grip tightens on contact, not before.
2. The footwork platform. Back foot under the shuttlecock, front heel lifting at the moment of contact. This is the same mechanic as the smash. If you play the drop shot with parallel feet, you won't be able to mask your intention because your body won't be in a downward hitting position.
3. The contact point. In front of the body, racket extended, exactly in the same place as for a smash. It is THIS point that makes the drop shot unpredictable: the preparation and contact occur within the same time window as a smash. The opponent has no signal to anticipate.
4. The follow-through. Here, everything changes. The wrist remains relaxed, the racket angle opens slightly downwards, and the gesture continues as if you were going to smash (fake follow-through). It is this continued follow-through that creates the feint: the opponent's eye follows the arm going down, but the shuttlecock does not come.
This framework exactly follows the logic of the Intention-Execution-Confirmation (I-E-C) cycle that you find in all technical pathways on the platform. For structured work on the basic gesture, the classic drop shot to place behind the net pathway provides a step-by-step breakdown with an observable evaluation section.
The three variations of the badminton drop shot: fast, sliced, reverse slice
Three families to know. Each responds to a different tactical intention.
The fast drop
The shuttlecock descends sharply and arrives quickly on the opponent's side, but without the depth of a smash. The trajectory is downward but the landing point remains before the half-court line, often 1-1.5 meters behind the net. When to use it: to make the opponent run when they have stayed at the back of the court and don't have time to recover. Common mistake: too much speed, the shuttlecock lands mid-court and becomes a gift.
The sliced drop
The racket cuts the shuttlecock tangentially instead of hitting it squarely. The shuttlecock takes on spin, its trajectory breaks earlier, and it drops sharply just behind the net. This is the technical version of the drop shot: the slice slows the shuttlecock while maintaining a smashing motion, which maximizes the feint.
The sliced drop exists in forehand (blade descending from outside to inside the body) and backhand. The classic forehand slice with effect pathway anchors the sensation of “cutting” the shuttlecock rather than hitting it.
The reverse slice
The most advanced variation. Instead of slicing inwards, you slice outwards — the racket blade passes under the shuttlecock towards your backhand (for a right-hander, to the left). The effect is identical but the trajectory completely surprises because the opponent expects the shuttlecock to go in the other direction.
This is the shot that characterizes top world players. Vitidsarn, Lakshya Sen on his best days, or Shi Yu Qi use it as a weapon of disruption. The classic reverse slice to deceive pathway is dedicated to this specific shot.
The badminton net kill: punishing an opponent's drop at the net
The badminton net kill is the logical response when the opponent sends you a drop shot and you arrive at the net in time. You take the shuttlecock just after it has passed the tape and immediately send it back to the other side, as short as possible, in the same second.
The objective: to force your opponent, who expected you to lift, to rush forward to retrieve a shuttlecock that dies 10-15 cm from the net.
The key gesture. Backhand or forehand grip depending on the side. Racket in front, moving towards the net with a split-step. On contact, the racket caresses the shuttlecock — it's a shot of touch, not power. The hand stays high, the racket finishes its stroke just above the shuttlecock. No low follow-through, no brutal wrist flick: if you whip it, the shuttlecock goes too far and the opponent recovers.
When to use it. Only if you arrive at the net with your racket high, in front of the tape. If you don't have time to get into position, don't attempt the net kill — play a deep low lift instead. A missed net kill at mid-tape is the worst kind of gift.
The trap. Many club players confuse net kill with a “little shot at the net.” The net kill is an active shot that requires millimeter precision. If you don't control the drop, play another shot. The high hand net zone finish pathway specifically works on the touch zone at the net.
The smash drop: the deceptive combination that shifts position
The smash drop is the art of feinting a smash to ultimately play a drop shot — or vice versa, feinting a drop shot to smash. The sequence plays out in the last 1/10th of a second before contact.
Variation 1: smash feint. You prepare like a smash, you accelerate your arm as if to smash, and at the last moment you cut the shot to place a drop shot. The opponent has thrown themselves to the ground in defense — they have no chance of getting back to the net.
Variation 2: drop shot feint. You prepare like a smash, your arm begins to slow down as if to drop, and at the last moment you accelerate to smash. The opponent has moved forward to the net in anticipation of the drop — you smash it behind them.
When it works. Only after you have established both the smash AND the drop shot as credible threats. If you don't have a smash that goes down or a drop shot that lands, the feint won't work — the opponent reads the shot as it's being born.
This is a high-level shot that requires hundreds of repetitions to become natural. Before integrating it into a match, make sure your basic drop shot is solid.
Common errors in badminton drop shots and how to correct them
Five recurring flaws in 80% of missed drop shots at N4-N3:
1. Slow preparation. The arm goes up too slowly, the opponent reads the drop shot from the wind-up. Correction: prepare strictly like a smash, same speed, same upward motion.
2. Contact too low. The shuttlecock is hit below the head. The downward angle disappears, the shuttlecock passes high over the net. Correction: get up earlier, never let the shuttlecock drop to shoulder level.
3. Tense wrist. The racket is rigid on contact, the shuttlecock “slaps” instead of landing softly. It ends up in the net or mid-court. Correction: relax the wrist, feel the shuttlecock “stick” to your strings.
4. No follow-through. You stop your gesture on contact so as not to send the shuttlecock too far. This is exactly what telegraphs the shot. Correction: continue the movement as if you were going to smash — it's the fake follow-through that creates the feint.
5. Overly ambitious target. You systematically aim for the net tape. The margin of error is 5 cm, which makes you miss one out of two times. Correction: aim for an area 30 cm behind the net. You gain consistency without losing anything tactically.
If you want a precise diagnosis of your drop shots, upload a 30-second video to BadmintonPeak: the AI breaks down each drop shot into four observables (grip, platform, contact, follow-through) and tells you which of the five flaws above occurs most often in your technique.
How to work on your badminton drop shot independently
Three drills to integrate into your sessions:
1. Multi-shuttle pure drop. Your partner sends you 10 high shuttlecocks to the back of the court, you chain 10 drop shots to the same target (forehand side). You repeat on the backhand. You repeat aiming for the other side. Count the drop shots that land in the target zone (1 meter behind the net). Aim for 7/10 before moving to the next step.
2. Smash or drop on signal. The partner sends you a high shuttlecock. The moment you raise your racket, they shout “smash” or “drop.” You play the requested shot. This exercise trains decision-making and forces the gesture to remain identical until contact.
3. Themed match “no smashing allowed.” 15 minutes of play where smashing is forbidden. You only have clears and drop shots to build the point. You will discover that you can win many more points than with your usual smash — because the drop shot forces the error where the smash gives it.
For the technical basis of all this work, the pillar article on the 5 hitting techniques in badminton places the drop shot in the panorama of the five fundamental shots. And if you want a theoretical framework on playing heights and the net zone, the Wikipedia FR page on badminton provides the basic regulatory benchmarks.
To go further on the entire technical range, also take a look at BadmintonPeak video analysis features: you can break down an entire set of a PRO match to see how the best players place their drop shots in point construction.
Frequently Asked Questions
What is the difference between amorti and drop shot in badminton?
None. “Drop shot” is the English term, “amorti” is the French term. Both refer to the high shot played softly to make the shuttlecock fall just behind the opponent's net. You will sometimes find “drop” in translated manuals or international videos, but the official FFBaD terminology uses “amorti.”
How to successfully hit a sliced drop shot without sending the shuttlecock too far?
The slice naturally slows the shuttlecock because the hitting energy is transformed into rotational effect instead of translational speed. Concretely: your racket passes tangentially under the shuttlecock instead of hitting it squarely. If your sliced drop shot goes too far, it's because you haven't angled your racket enough — aim for a racket angle of 30-45 degrees relative to the shuttlecock's trajectory.
What is the net kill and when to use it?
The badminton net kill is the response to an opponent's drop shot: you take the shuttlecock just after it has passed the net and send it back short to the other side, in the same tempo. You only use it if you arrive at the net with the racket high, in front of the tape. Otherwise, play a deep low lift — a missed net kill is one of the most expensive gifts in badminton.
How high should the drop shot pass the net?
As close as possible to the tape, ideally 5-15 cm above. But don't sacrifice consistency for precision: a drop shot that passes 30 cm above the net but lands 50 cm behind is better than a drop shot that skims the tape one out of three times and ends up in the net two out of three times.
Why do my drop shots fall into the net?
In 90% of cases, it's because your contact point is too low or your wrist is tense. Check two things: 1) is your contact in front of your body, racket extended, or do you let the shuttlecock drop to shoulder level? 2) does your wrist remain relaxed on contact, or is it stiff? Film 10 consecutive drop shots and compare with a video reference of a PRO player — the difference is obvious.